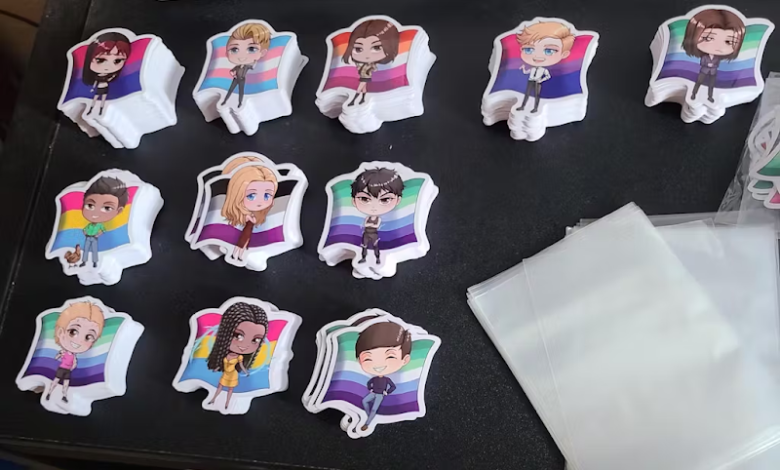
How to Apply Custom Stickers Correctly: Tips for a Flawless Finish

It might sound odd, but applying custom stickers is not as easy as it might be perceived. To ensure a perfect look, some set procedures have to be followed. Proper application gives your stickers the right appearance, and with proper application, your branding, company, marketing, or personal stickers will be durable. Here are some helpful suggestions on how to use custom stickers properly to yield the best outcome.
1. Choose the Right Surface
Before sticking your Sticker, you must define the proper surface on which to stick it. Examples of familiar surfaces include glass, metal, plastics and the following types of woods: finished basswood, maple, walnut, cherry and poplar wood. Do not apply stickers on rough or textured surfaces because the surfaces do not stick firmly, and the Sticker may develop a flap after some time.
2. Clean the Surface Thoroughly
Clean the area where the Sticker will be placed to develop a perfect sticking surface. Clean using rubbing alcohol or mild soap to get rid of dirt, dust, and grease. Finally, rinse in clean water, then allow the surface to dry for some time. Clean that surface and ensure that the adhesive part provides a good grip and stickness.
3. Measure and Mark Placement
Make sure to decide where your Sticker will be placed, then use a ruler and a pen to mark it. Always be consistent with the distance when sticking the stickers, and to avoid guessing when placing stickers in different areas, use a ruler or measuring tape if you’re applying a number of stickers. Dividing the area simply using a pencil or masking tape will allow you to see how the furniture will be arranged and make it look more presentable.
4. Peel the Backing Slowly
Custom stickers are added by removing all backing from the Sticker’s Adhesive side. Picking a starting point at one corner increases the chances of getting the shape right, while gently uncurling it reduces the likelihood of tearing the Sticker.
This is especially important when your Sticker is large or features many details. Try gently pulling back a part of the Sticker’s liner, and don’t allow the Sticker to stick entirely to the liner.
5. Position and Apply Gently
Place the Stickers in line with the mark you’ve placed and apply slight pressure on it. To avoid the formation of air bubbles, work backward, that is, start at one edge and end at the other edge. If your Sticker is significantly larger, a credit card will make sense to ensure that you are applying pressure on the Sticker and gently pulling it down to give it even pressure on the surface.
6. Use the Wet Method for Large Stickers
When making large stickers, it is recommended to use the wet method to produce a near-perfect polished surface. Add a few drops of dish soap to water in a spray bottle and spray the surface before putting on the Sticker. This makes repositioning easier before the Sticker sticks entirely to the surface. Afterward, you need to use a squeegee or a bank card to level the Sticker and remove the surplus water.
7. Avoid Air Bubbles
The air lumps in the vinyl can make your stickers’ appearance worse. After application, bubbles may form. If so, use a small pin to puncture the corner of the Sticker and push the bubble. Try to squash the bubble inwards from the puncture so that the air comes out. This method can ensure no tear or damage to the Sticker while giving it a smooth finish.
8. Allow for Proper Curing Time
Stickers should dry up well after using. It is also advisable not to wash it with water or use products that have been washed with hot water, and it is also advisable not to wash it with bleach, soak it in very hot water or scrub it for at least one day. This curing time ensures that the adhesive sticks well to the particular surface to enhance a long-lasting application.
9. Protect Your Stickers
Custom stickers are relatively durable, a good suggestion is to put on a clear coat or a sealant to prolong their life. This can also prevent colors from fading, scratching and peeling off, especially for goods likely to be used outside. Ensure that the sealant you will use is safe to apply to the sticker material you use in your vinyl stickers.
10. Keep the Stickers away from extreme conditions
Do not expose your stickers to unfavorable conditions that may bring out their poor condition. Do not place them where they are exposed to direct sunshine or bare frequently used parts or areas that often experience friction. Strictly adhering to these measures will ensure that your stickers look as good and stay on the surfaces longer.
Conclusion
Custom stickers for decoration require rigorous adherence to the guidelines, making them perfect and durable. Cleaning the surface well and having comprehensive knowledge of sticker applications ensures that the correct choice of surface cleaning, and these tips will improve the outlook and longevity of your stickers. Whether for oneself, business, or promotions, the extra time and effort to apply your stickers correctly will benefit you at the end of the day.


